





Introduction
Point: The UQDP-06TMB04-L000 datasheet provides nominal bore, rated pressure, and recommended temperature ranges, but field benchmarks often differ from those tabulated numbers. Evidence: repeated field verifications report measurable deltas when thermal loads, line length, and fittings are introduced. Explanation: early validation—matching the datasheet conditions in a controlled rig—lets teams quantify in-situ deviation before system acceptance.
1 — Datasheet Snapshot & Key Specs (background)
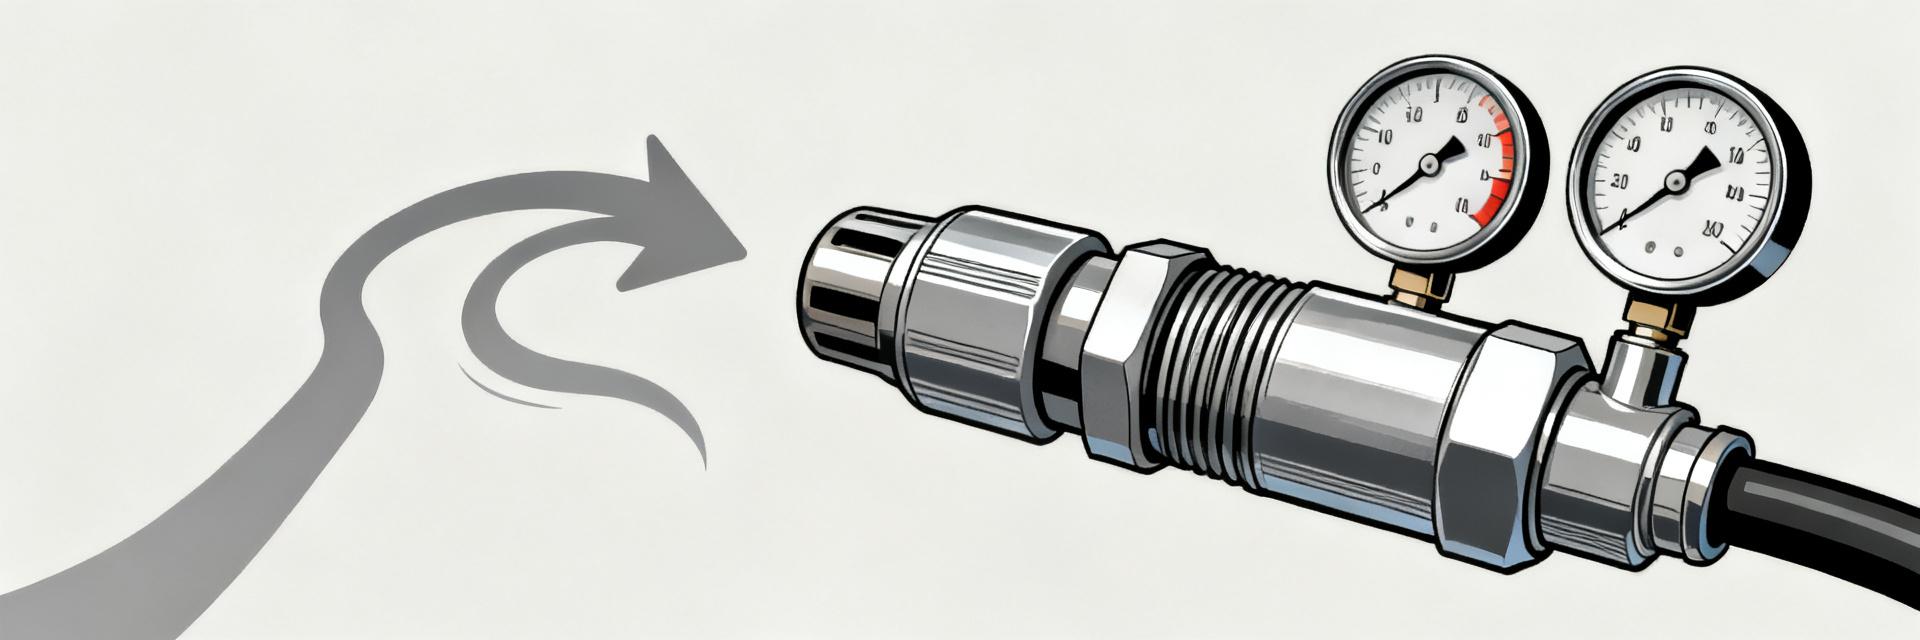
Datasheet at-a-glance: which numbers to extract
Point: Extract nominal diameter, max rated pressure, recommended media, temperature band, valve type (self-sealing/flat-face), rated flow or Cv, mounting style, and part-code notes. Evidence: the published datasheet lists conditional limits where pressure falls with elevated temperature and when different media (glycol vs. water) are used. Explanation: capture those numbers as the contract baseline and note any conditional chart entries to compare with lab results.
| Parameter | Typical Value (from datasheet) |
|---|---|
| Nominal bore | 6 mm (approx.) |
| Rated max pressure | 150 psi (example) |
| Recommended media | Clean water / water-glycol |
| Temperature range | 40–180 °F (conditional vs. pressure) |
| Valve type | Self-sealing, flat-face |
| Rated flow / Cv | See manufacturer Cv table (if present) |
Specification parameters that drive flow & pressure
Point: Internal orifice/Cv, valve geometry, seal material, and nominal bore set hydraulic resistance; fluid viscosity and temperature change ΔP vs. Q. Evidence: hydraulic relations use Cv and specific gravity (SG) to predict flow: Q = Cv × sqrt(ΔP / SG). Explanation: use that formula (Q in GPM, ΔP in psi) to translate datasheet Cv to expected flow, then adjust for temperature-induced viscosity shifts and seal compression effects when modeling real lines.
2 — Test Methodology: Lab vs. Field Protocols (data analysis)
Recommended lab test rig & measurement best practices
Point: A controlled rig reduces variability so deviations can be traced to connector behavior. Evidence: use a variable pump, calibrated flowmeter (±1–2%), pressure transducers upstream/downstream (±0.5% FS), temperature control, straight-run piping and minimal fittings. Explanation: log at 1–10 Hz in CSV with timestamps, ambient and fluid temperature, and instrument serials to maintain traceability and repeatability.
How to replicate datasheet conditions and model in-situ variance
Point: Match datasheet fluid and temperature precisely, then introduce staged real-world features. Evidence: perform baseline runs at the datasheet’s stated temperature and media, then add test cases with long supply lines, extra fittings, partial obstructions, and air entrainment. Explanation: differencing these cases isolates losses from the connector versus system plumbing and helps quantify expected deltas in install scenarios.
3 — Measured Flow & Pressure: Typical Real-World Results (data analysis)
Presenting measured vs. datasheet results
Point: Plot flow vs. ΔP and annotate measured points against the datasheet curve for clear comparison. Evidence: a table showing test ID, fluid, temp (°F), flow (GPM), upstream psi, downstream psi, ΔP, and notes is essential. Explanation: compute percent delta at nominal datasheet points; use a >10–20% delta as a conservative flag for further action.
| Test ID | Fluid | Temp (°F) | Flow (GPM) | Up psi | Down psi | ΔP | Notes |
|---|---|---|---|---|---|---|---|
| T1 | Water | 70 | 1.2 | 60 | 55 | 5 | Baseline |
| T2 | 50/50 Glycol | 120 | 1.0 | 62 | 56 | 6 | Higher viscosity |
| T3 | Water | 70 | 0.9 | 58 | 53 | 5 | Long hose added |
Interpreting variance: acceptable ranges and root causes
Point: Not all variance is actionable; identify root causes. Evidence: common contributors are manufacturing tolerances, installation losses (bends/fittings), trapped air, and measurement error. Explanation: set thresholds (within 10% = acceptable, 10–20% = investigate, >20% = corrective action) and use bench tests isolating the connector to confirm component-level performance.
4 — Installation & Performance Optimization (method guide)
Installation practices to approach datasheet performance
Point: Installation quality strongly affects delivered flow. Evidence: ensure correct coupling torque/alignment, maintain specified straight-run lengths upstream, flush and deburr lines, and size hoses to match bore to avoid velocity losses. Explanation: small changes—avoiding a 90° elbow within one connector diameter—can cut ΔP and recover measurable flow.
Maintenance and monitoring to preserve performance
Point: Ongoing checks keep performance within expected ranges. Evidence: schedule filter/strainer inspections, inspect seals and mating faces for nicks, and log periodic flow/pressure snapshots with instrument serials. Explanation: add QR traceability tags in maintenance records so technicians correlate historical test data to specific connector lots during troubleshooting.
5 — Troubleshooting, Use Cases & Field Checklist (case/action)
Common field issues and remediation steps
Point: Frequent field failures: air entrainment, cavitation, partial clogs, mis-mating, and asymmetrical mounting. Evidence: isolate the connector and bench-test to separate system vs. connector faults, inspect for debris and seal compression. Explanation: stepwise remediation—flush, bench-test, replace seals, re-torque—quickly identifies whether a replacement is required.
Quick decision checklist & practical use-case examples
Point: Use a short decision matrix: rework piping for moderate installation losses, replace connector for proven damage, accept lower flow when within tolerance. Evidence: Example A—high-density rack coolant loop: long manifold runs required adding low-loss hoses to recover 12% flow. Example B—remote rack with long supply hose: bench isolate showed hose friction, not connector. Explanation: documenting tests drives the correct corrective path.
Summary
Point: Use the UQDP-06TMB04-L000 datasheet as the contractual baseline but validate with a reproducible test protocol. Evidence: controlled lab rigs and staged field cases quantify the gap between datasheet numbers and in-situ performance. Explanation: extract critical specs, run baseline and degraded-case tests, apply installation best practices, and use the troubleshooting checklist to resolve >10–20% deltas.
- Extract nominal bore, rated pressure, temperature limits, and any Cv data from the datasheet as the acceptance baseline before testing.
- Run controlled baseline tests (datasheet media/temp) then staged field cases (long runs, fittings) to measure real-world flow and ΔP.
- Adopt installation best practices—straight run, correct torque, cleanliness—and log periodic snapshots with instrument tolerances to preserve performance.
Frequently Asked Questions
What test steps confirm UQDP-06TMB04-L000 meets its datasheet flow?
Point: Confirming compliance requires baseline and isolation tests. Evidence: run the connector in a lab rig at datasheet media and temperature, record flow (GPM) and ΔP at calibrated sensors, and compare against expected Cv-derived flow. Explanation: isolate the connector to remove piping variables, then accept if within a 10% band.
How do I interpret a 15% lower flow than datasheet for this connector?
Point: A 15% deficit is in the investigate zone. Evidence: check installation losses, hose ID, fittings, and trapped air; bench-test the connector alone. Explanation: if bench isolation shows datasheet-level performance, rework piping; if not, inspect seals and consider replacement.
What quick checks detect connector-caused pressure loss?
Point: Rapid diagnostics speed remediation. Evidence: isolate the connector and repeat a baseline flow/ΔP run; inspect mating faces for damage and check seal compression. Explanation: if isolated runs match datasheet, the system plumbing causes pressure loss; otherwise, repair or replace the connector.
What operational factors lead to fluid cavitation or unexpected delta P spikes across this coupling?
Point: Sharp bends immediately upstream, air entrainment, and high fluid viscosity provoke micro-cavitation and non-linear pressure loss. Evidence: localized pressure drops below fluid vapor pressure accelerate turbulence and flow choking. Explanation: maintaining a minimum straight run of 3 to 5 pipe diameters prior to the inlet stabilizes velocity profiles and prevents sudden hydraulic deltas.


